GeoGig for developers
This page includes information for developers wanting to work with GeoGig.
Building
To build GeoGig from source, follow these steps:
- Clone the GeoGig source code repository. To do so, create a new folder where you want the GeoGig source code to be kept, open a console and move to that folder. Now type the following.
$git clone https://github.com/locationtech/geogig.git
Install the software needed to build GeoGig (you can skip one or both of the steps below in case you have Java and/or Maven already installed in your system)
- Download and install a Java Development Kit (JDK) from the Oracle Java website.
- Download and configure Maven.
Move to the
src/parentfolder under the folder where you have cloned the GeoGig source code, and type the following.
$mvn clean install
- GeoGig should now be built, and scripts ready to be run should be available in the
src/cli-app/target/geogig/binfolder. Add that folders to yourPATHenvironment variable, so your system can find it and you can call GeoGig from the console. - To test that GeoGig is ready to be used, open a console and type
geogig help. You should see a list of available commands like the one shown below.
usage: geogig <command> [<args>]

The most commonly used geogig commands are:
--help          Print this help message, or provide a command name to get help for
add             Add features to the staging area
apply           Apply a patch to the current working tree
branch          List, create, or delete branches
cat             Provide content of an element in the repository
checkout        Checkout a branch or paths to the working tree
cherry-pick     Apply the changes introduced by existing commits
clean           Deletes untracked features from working tree
clone           Clone a repository into a new directory
commit          Record staged changes to the repository
config          Get and set repository or global options
conflicts       Shows existing conflicts
diff            Show changes between commits, commit and working tree, etc
[...]
Working with eclipse
To work with the Eclipse IDE, follow these steps.
- Move to the
src/parentfolder and type the following to build the corresponding eclipse projects:
$mvn eclipse:eclipse
Open Eclipse and create a new workspace by selecting File->Switch Workspace->Other… menu and choosing an empty directory
Select the File->Import… menu and then select “Existing projects from workspace”. You will see the dialog shown below
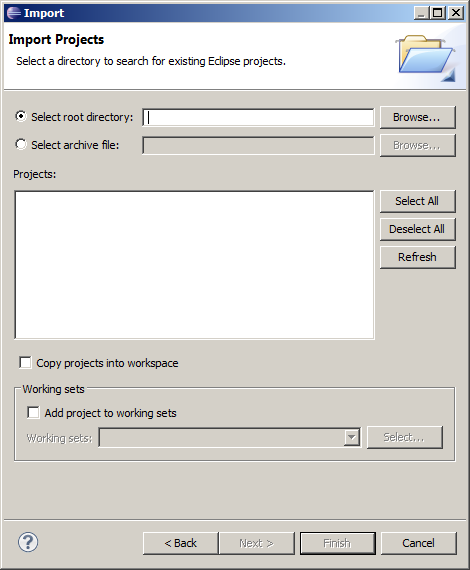
Select Maven->Existing Maven Projects and click on Next
In the Select root directory field, select the
srcfolder where the GeoGig source code can be found (which now will also contain the Eclipse projects). The list of projects in the Projects field will be populated.Click on Finish and all of GeoGig projects will be added to your workspace.
To handle maven projects directly from Eclipse, you can use the m2eclipse plugin.
Once your workspace contains the GeoGig source code, configure it following these steps.
Open the preferences dialog (Eclipse->Preferences) and in the left part, select the Java->Code Style->Formatter entry.
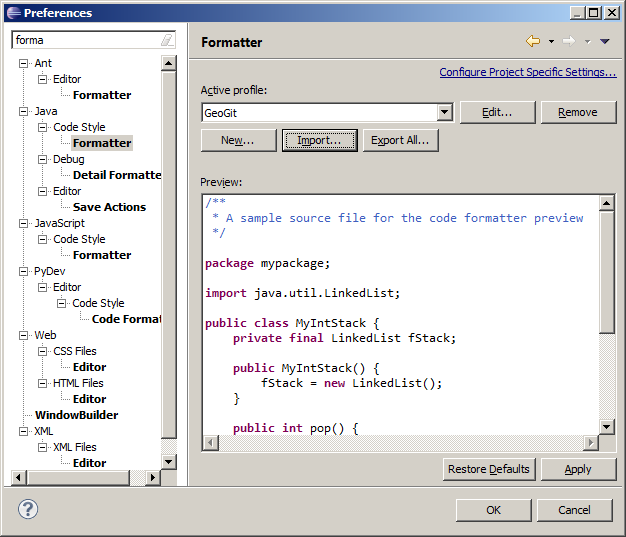
Press the Import button and import the GeoGig formatting rules that are found at
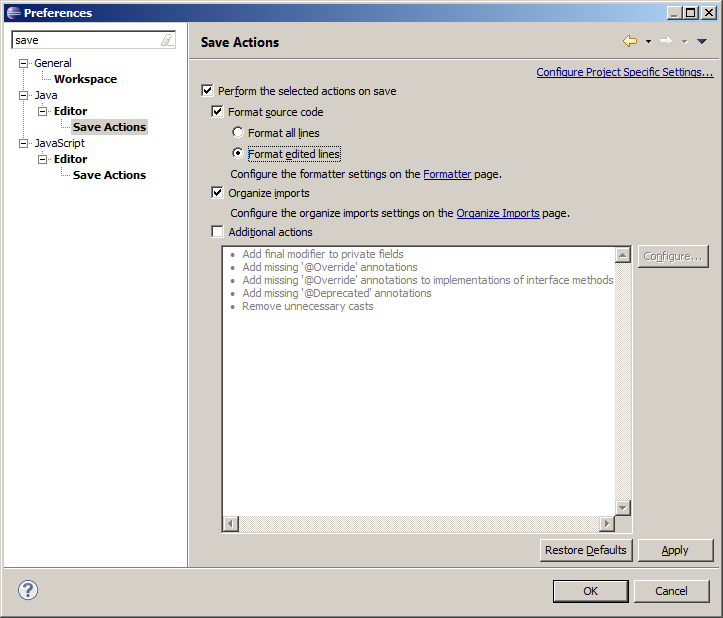
build/eclipse/formatter.xml. SetGeoGigas the current active profile.If you use the auto-formatting on save option, make sure that only edited lines are formatted.
Programming guide
Here are some notes to help you get introduced in programming GeoGig
GeoGig makes extensive use of the Google Guava library. Check its documentation and use it when possible, as it contains many valuable tools that will increase code readability. Of particular relevance are the usage of preconditions, of utilities to deal with collections and of the
Optionalclass to avoid null references. Make sure you check the above links to get familiar with those elements.Tests are written using the Junit framework. Online tests that require a GeoGig endpoint, are available using
mvn -Ponline.Cobertura is configured for a test coverage report:
mvn cobertura:cobertura
open target/site/cobertura/index.html
Functional tests are available for the command-line interface. GeoGig uses the cucumber-jvm framework for functional testing. The
RunFunctionalTestclass is a JUnit Runner that will run all cucumber functional tests. To run a single test from Eclipse, you can install the cukes-jvm-eclipse plugin. Once installed, you can right click on functional test files (which have the.featureextension) and run them individually. More information about running cucumber tests from eclipse can be found here.
Technical documentation
Technical documentation is available in the docs/technical folder. It contains mostly descriptions of the mechanisms used by some GeoGig core operations.
![]()